Using Rainbowkit with Flow Wallet
Integrating Flow Wallet with RainbowKit allows users to seamlessly connect their Flow accounts through one of the most popular wallet connection interfaces.
This guide walks you through the process of defining Flow Wallet as a custom wallet in RainbowKit and testing the integration. You can follow along by setting up a new RainbowKit project or use the code in this guide to integrate these steps into your existing dApp.
Objectives
After completing this guide, you'll be able to:
- Create a custom Flow Wallet connector compatible with RainbowKit's interface
- Configure your Wagmi setup to support Flow Wallet connections
- Implement a complete wallet connection flow for Flow blockchain users
- Test and verify the Flow Wallet integration in your dApp
Prerequisites
Next.js and Modern Frontend Development
The RainbowKit starter is built on Next.js, so familiarity with React, hooks, and modern frontend development will help you follow along.
A Flow Wallet
To use Flow Wallet with RainbowKit, install the Flow Wallet browser extension from the Chrome Web Store.
Once installed, set up your wallet by creating or importing an account. For quick access, pin the extension to your browser toolbar.
Setting Up Your Environment
Initial Setup
The RainbowKit starter is built on Next.js, following its standard project structure and conventions. Create a new project or ensure your existing one has the necessary dependencies:
_10$ npm init @rainbow-me/rainbowkit@latest_10$ cd my-rainbowkit-app_10$ npm run dev
The RainbowKit components will be available throughout your application via the provided wrapper components.
Creating the Flow Wallet Connector
The first major step is defining the Flow Wallet connector. Create a new file called flowWallet.ts in src/flowWallet.ts to house the wallet configuration:
_63/* src/flowWallet.ts */ _63import { Wallet, getWalletConnectConnector } from '@rainbow-me/rainbowkit';_63_63export interface MyWalletOptions {_63 projectId: string;_63}_63_63export const flowWallet = ({ projectId }: MyWalletOptions): Wallet => ({_63 id: 'flow-wallet',_63 name: 'Flow Wallet',_63 iconUrl: 'https://lilico.app/logo_mobile.png',_63 iconBackground: '#41CC5D',_63 downloadUrls: {_63 android: 'https://play.google.com/store/apps/details?id=com.flowfoundation.wallet',_63 ios: 'https://apps.apple.com/ca/app/flow-wallet-nfts-and-crypto/id6478996750',_63 chrome: 'https://chromewebstore.google.com/detail/flow-wallet/hpclkefagolihohboafpheddmmgdffjm',_63 qrCode: 'https://link.lilico.app',_63 },_63 mobile: {_63 getUri: (uri: string) => uri,_63 },_63 qrCode: {_63 getUri: (uri: string) => uri,_63 instructions: {_63 learnMoreUrl: 'https://wallet.flow.com',_63 steps: [_63 {_63 description: 'We recommend putting Flow Wallet on your home screen for faster access to your wallet.',_63 step: 'install',_63 title: 'Open the Flow Wallet app',_63 },_63 {_63 description: 'You can find the scan button on home page, a connection prompt will appear for you to connect your wallet.',_63 step: 'scan',_63 title: 'Tap the scan button',_63 },_63 ],_63 },_63 },_63 extension: {_63 instructions: {_63 learnMoreUrl: 'https://wallet.flow.com',_63 steps: [_63 {_63 description: 'We recommend pinning Flow Wallet to your taskbar for quicker access to your wallet.',_63 step: 'install',_63 title: 'Install the Flow Wallet extension',_63 },_63 {_63 description: 'Be sure to back up your wallet using a secure method. Never share your secret phrase with anyone.',_63 step: 'create',_63 title: 'Create or Import a Wallet',_63 },_63 {_63 description: 'Once you set up your wallet, click below to refresh the browser and load up the extension.',_63 step: 'refresh',_63 title: 'Refresh your browser',_63 },_63 ],_63 },_63 },_63 createConnector: getWalletConnectConnector({ projectId }),_63});
Configuring Wagmi Integration
Next, update your Wagmi configuration to include Flow Wallet support. Modify your wagmi.ts file:
_36/* src/wagmi.ts */ _36'use client';_36_36import { connectorsForWallets } from '@rainbow-me/rainbowkit';_36import { createConfig, http } from 'wagmi';_36import { mainnet, flowMainnet } from 'viem/chains';_36import { flowWallet } from './flowWallet';_36_36/*_36We can leave this as is for the tutorial but it should be_36replaced with your own project ID for production use._36*/_36const projectId = 'YOUR_PROJECT_ID'; _36_36const connectors = connectorsForWallets(_36 [_36 {_36 groupName: 'Recommended',_36 wallets: [flowWallet]_36 },_36 ],_36 {_36 appName: 'RainbowKit App',_36 projectId,_36 }_36);_36_36export const config = createConfig({_36 connectors,_36 chains: [flowMainnet, mainnet],_36 ssr: true,_36 transports: {_36 [flowMainnet.id]: http(),_36 [mainnet.id]: http(),_36 },_36});
WalletConnect Project ID
Every dApp that relies on WalletConnect now needs to obtain a projectId from WalletConnect Cloud (now rebranded as reown). This is absolutely free and only takes a few minutes.
To get a Project ID, sign up at WalletConnect Cloud, create a new project, and copy the generated ID into the projectId variable in the wagmi.ts file.
Testing Your Integration
After implementing the Flow Wallet connector and configuring Wagmi, follow these steps to verify that the integration works correctly in your dApp:
- Click "Connect Wallet" – Open your application and click the "Connect Wallet" button.
- Check for Flow Wallet – Ensure Flow Wallet appears as an option in the RainbowKit wallet selection modal.
- If you haven't installed the browser extension and set up your wallet yet, you can find install it via the Chrome Web Store.
- Connect the Wallet – Click on Flow Wallet in the selection modal. If using the browser extension, open it and press "Connect."

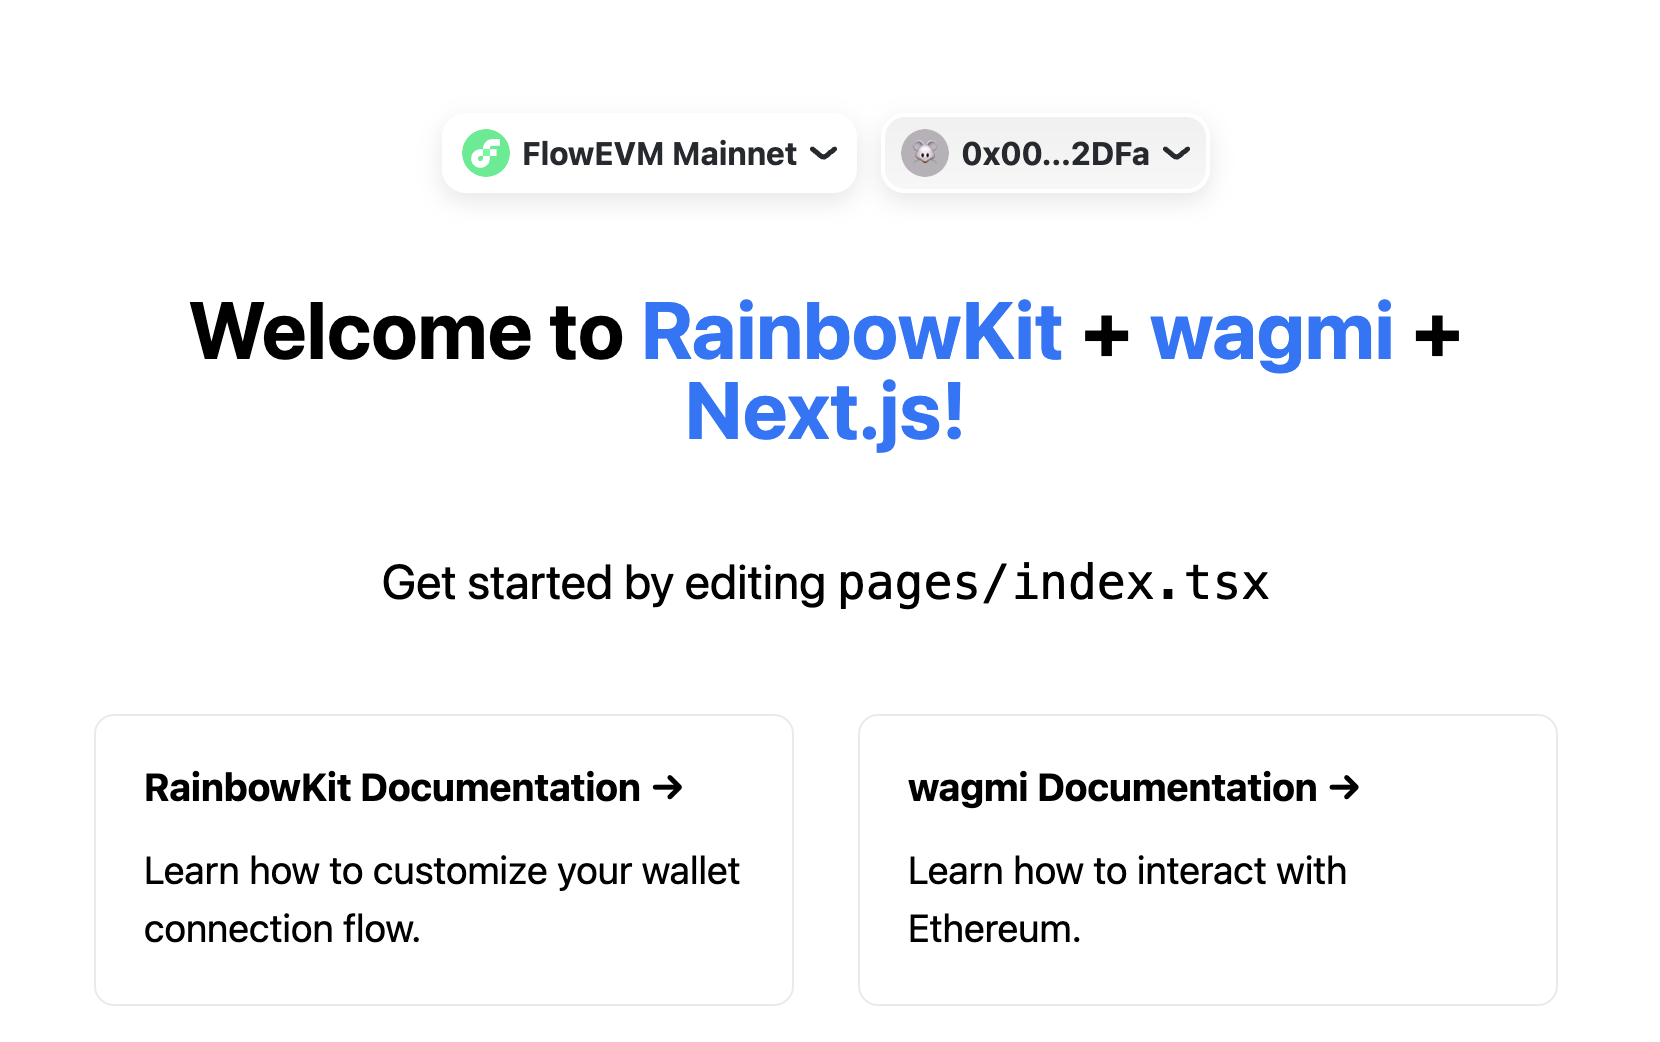
- Verify Connection – Confirm that your Flow Wallet is now connected and visible in your dApp's UI.
Conclusion
In this tutorial, you learned how to integrate Flow Wallet with RainbowKit, creating a seamless wallet connection experience for your users. You should now be able to:
- Create a custom Flow Wallet connector compatible with RainbowKit's interface
- Configure your Wagmi setup to support Flow Wallet connections
- Implement a complete wallet connection flow for Flow blockchain users
- Test and verify the Flow Wallet integration in your dApp
Now that you've completed this tutorial, you're ready to enhance your dApp with additional Flow blockchain features such as token transfers, NFT minting, and smart contract interactions.